If you’re a pet lover and beginner woodworker, here’s a fun and rewarding weekend project—a handmade wooden dog bed! It’s simple, budget-friendly, and your furry friend will absolutely love it. Plus, there’s something special about creating a cozy space for your dog with your own two hands.
Let’s walk you through how to build an easy wooden dog bed—even if you’ve never picked up a saw before.

What You’ll Need
Tools:
- Handsaw or circular saw
- Drill and drill bits
- Measuring tape
- Sander or sandpaper (120–220 grit)
- Clamps (optional but helpful)
- Paintbrush (if you want to paint or stain)
Materials:
- Wooden boards (pine is affordable and easy to work with)
- Wood screws (1 1/4″ or 1 1/2″)
- Wood glue (optional for added strength)
- Wood stain or paint (optional)
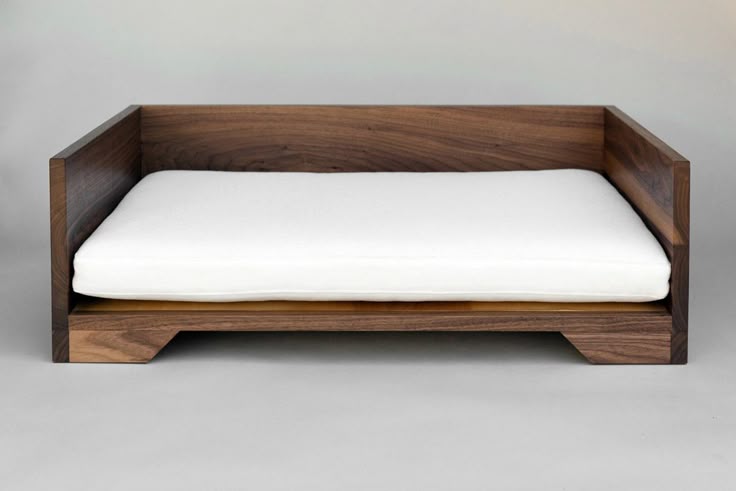
- Cushion or foam mattress for the bed
Step-by-Step Instructions
Step 1: Measure Your Dog
Measure your dog lying down and add 6–8 inches on each side. This gives your pup room to stretch out. For a small dog, 24″x18″ is a good size. For a large dog, 36″x24″ or larger works best.
Step 2: Cut the Wood
For a basic rectangular frame, you’ll need:
- Two long side pieces (length of your dog bed)
- Two shorter end pieces (width)
- One plywood base (for the bottom)
Example for a 36”x24” bed:
- (2) 36″ long boards (sides)
- (2) 24″ long boards (front and back)
- (1) 34″x22″ plywood sheet (base, allowing 1″ inset all around)
Step 3: Assemble the Frame
- Arrange the boards into a rectangle.
- Drill pilot holes to prevent splitting.
- Screw the corners together with wood screws.
- Attach the plywood base underneath using screws every 6 inches.
Optional: Use wood glue along with screws for added strength.
Step 4: Sand Everything
Use sandpaper or a sander to smooth the edges and surfaces, especially if you’re using pine (it splinters easily). Round off the corners for safety.
Step 5: Finish (Optional)
- Apply wood stain for a rustic look or paint it to match your décor.
- Let it dry fully (usually 24 hours).
Step 6: Add the Cushion
Buy or make a cushion to fit inside your frame. A thick foam pad covered in washable fabric works great.
Final Thoughts
This DIY wooden dog bed isn’t just a comfy spot for your pet—it’s a proud piece of furniture you built yourself! Whether you’re a total beginner or just dipping your toes into woodworking, this project is a great way to start.
Got your tools ready? It’s time to make your dog the happiest pet on the block.