

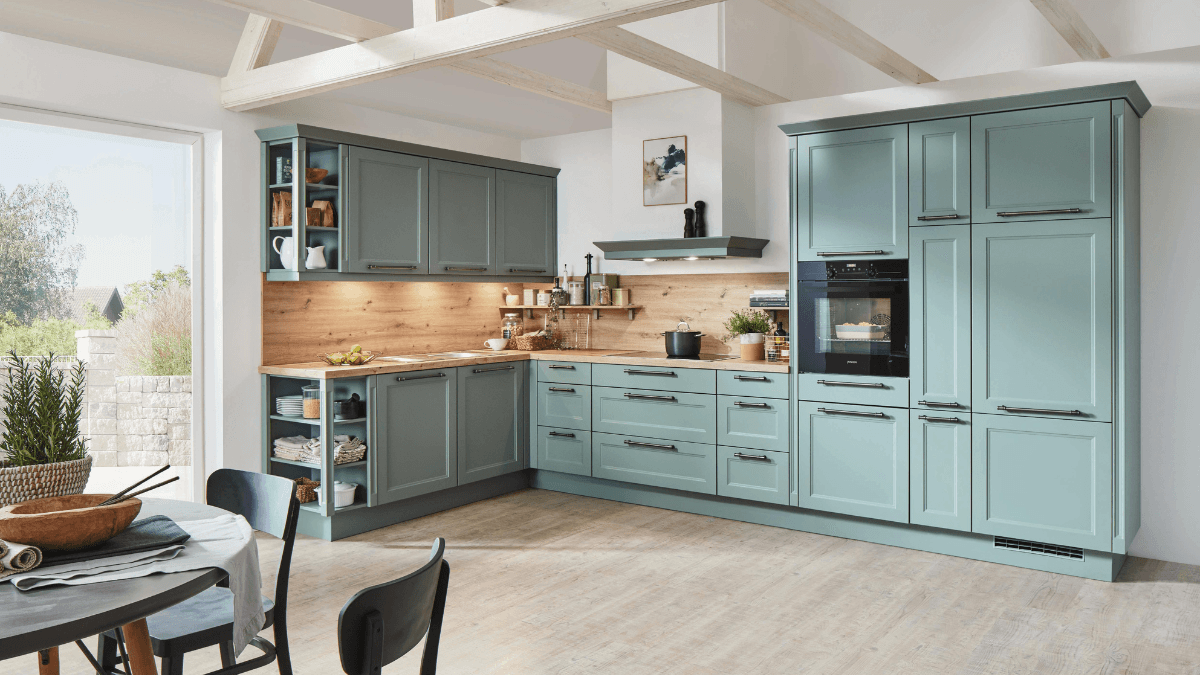
Repainting your kitchen cabinets is an excellent way to give your kitchen a fresh new look without the hefty price tag of replacing them. If done correctly, this DIY project can add value to your home and give your kitchen a makeover that looks professional. Here’s a step-by-step guide on how to repaint your kitchen cabinets like a pro.

Step 1: Gather the Right Tools and Materials
Before you begin, make sure you have all the necessary tools and materials. This will make the process smoother and more efficient. You’ll need:
- Painter’s tape
- Drop cloths or plastic sheets
- Screwdrivers
- Degreaser (or TSP – Trisodium Phosphate)
- Sandpaper (120-grit and 220-grit)
- Primer (preferably bonding primer for cabinets)
- Paint (choose a durable paint like semi-gloss or satin)
- Paintbrushes (angled and flat)
- Foam rollers
- Paint tray
- Gloves and safety glasses
- Clean cloths or rags
- A vacuum or tack cloth (to remove sanding dust)
Step 2: Remove the Cabinet Door
Start by taking off the cabinet doors, drawers, and any hardware like handles, knobs, or hinges. Use a screwdriver to carefully remove all the screws. Place the screws and hardware in labeled bags to avoid losing them. This will make the reassembly process much easier later on.
Step 3: Clean the Cabinets
Before you paint, you need to clean your cabinets to remove any grease, grime, and food splatters. Use a degreaser or TSP and a sponge to wipe down all surfaces. Don’t skip this step — cleaning the cabinets properly ensures that the paint adheres better and lasts longer. Once cleaned, dry everything thoroughly with a clean cloth.
Step 4: Sand the Surfaces
Sanding the cabinet surfaces is crucial to achieving a smooth, flawless finish. Start with 120-grit sandpaper and lightly sand all the cabinet surfaces, including doors and frames. This helps to roughen the surface so the primer and paint can adhere better. After sanding, use a vacuum or tack cloth to remove all dust and debris.
If your cabinets have glossy finishes or you’re changing from a darker to a lighter color, consider sanding a bit more aggressively to ensure the paint bonds well.
Step 5: Apply Primer
Now that your cabinets are clean and sanded, it’s time to apply primer. A bonding primer is highly recommended because it provides better adhesion, especially on surfaces like laminate or glossy finishes. Use a brush or roller to apply an even coat of primer to all cabinet surfaces, doors, and frames. Allow the primer to dry completely — this usually takes around 2 hours, but be sure to check the manufacturer’s instructions.
Step 6: Sand Again
Once the primer is dry, lightly sand the surface again with 220-grit sandpaper. This step smooths out any imperfections and helps ensure a glass-like finish. After sanding, wipe down the surfaces to remove dust.
Step 7: Apply the Paint
Now for the fun part — painting! Choose a durable paint designed for cabinets, such as semi-gloss or satin. These paints not only provide a smooth finish but are also easier to clean. You can apply paint with a brush for detailed areas and a foam roller for larger surfaces. Apply thin, even coats, and allow each coat to dry completely before applying the next one.
Depending on the paint and the look you want, you may need 2-3 coats for full coverage. Allow the paint to dry between coats, following the manufacturer’s drying time instructions.
Step 8: Reattach the Doors and Hardware
Once the paint has fully dried and you’re satisfied with the coverage, it’s time to reassemble the cabinets. Carefully reattach the doors, drawers, and hardware. If necessary, adjust the hinges to make sure everything lines up properly.
Step 9: Allow the Paint to Cure
After everything is reassembled, allow the paint to cure for at least 24-48 hours before you use the cabinets. This ensures that the paint has fully hardened and will resist wear and tear.
Step 10: Enjoy Your Beautiful New Kitchen Cabinets!
Congratulations — you’ve successfully repainted your kitchen cabinets! Take a step back and admire the work you’ve done. The transformation will be remarkable, and you’ll have a kitchen that looks brand new, all thanks to your hard work and dedication.
also read.
- Google Pixel 10a 2026 – लॉन्च डेट, प्राइस, कैमरा, और फीचर्स की पूरी जानकारी
- महिंद्रा बोलेरो 2026 नया मॉडल: भारत में कीमत, ब्लैक कलर फीचर्स और माइलेज
- RRB Group D Cut Off 2026: Joining Letter Ke Liye Minimum Marks Kitne Hone Chahiye
- SSC GD SC महिला उम्मीदवारों की हाइट और वेट 2026 | फिजिकल योग्यता
- Rani Laxmi Bai Free Scooty Yojana 2026 योग्यता, क्लास, दस्तावेज और आवेदन तरीका
Pro Tips for a Professional Finish
- Use quality paint and brushes: Investing in high-quality supplies can make a huge difference in the final look of your cabinets.
- Be patient: Take your time with each step. Rushing through cleaning, sanding, and painting may result in a less-than-perfect finish.
- Work in a well-ventilated area: Proper ventilation helps with drying times and ensures you’re not inhaling fumes from the paint and primer.
Repainting your kitchen cabinets is a rewarding DIY project that can breathe new life into your space. With a bit of patience and attention to detail, you’ll have a kitchen that looks like it was professionally done.